This form must be completed and signed prior to us conducting any moisture testing. We cannot perform the moisture testing requested by the buyers without this form being signed.
Please call if you have any questions.
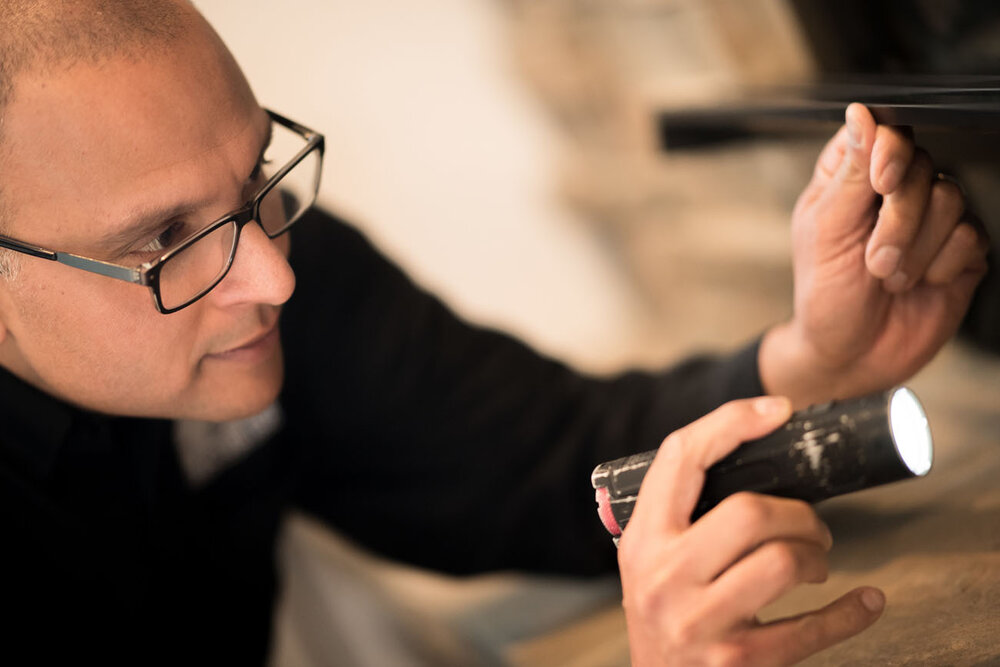
Structure Tech specializes in the moisture testing of buildings for the purpose of determining if there is moisture located behind the exterior wall cladding. A moisture inspection of your property has been requested.
In order to perform this inspection, we need the permission of the owner. We should have access to all parts of the exterior. Any security systems will need to be shut off during the testing, which can take several hours. We use standard industry practices for conducting the moisture tests, which includes the use of a penetrating probe meter to verify the moisture content of the structural wood and sheathing of the building. 3/16” holes will be placed under most windows and other possible moisture entry areas. These holes will be filled with caulk when the testing is completed.
We will make every effort to use a caulk that closely matches the color of the surrounding siding; however in some cases the holes may be noticeable upon close inspection. If the holes are of any cosmetic concern the property owner can have them painted with a matching paint.
I understand the above information and give my permission to test the building located at: