If it’s leaking, fix it. The end.
But seriously, today I’ll share some home inspection tips and tricks that homeowners can use to identify plumbing problems. You’ll want to use a good flashlight for your plumbing inspection, as a lot of this work involves looking underneath sinks and tub drains.
Bathroom Sinks
Most homeowners already know about the more obvious leaks under bathroom sinks, but to really test these sinks for leaks, fill the sink with water and then let it drain all at once. This test will force a large slug of water through the drain, and will often identify leaks that wouldn’t otherwise be seen. Carefully watch the drain while performing this test. One of the most common leak locations at bathroom sinks is at the drain stopper; fixing this leak is usually as simple as tightening the nut.
Note: if your drain goes “glug glug glug” after the water has drained out, you’re hearing air getting siphoned through the trap, which indicates a problem with the venting. Click this link for more information on that topic: Plumbing Vents: Why Houses Need Them.
If the bathroom sink drains slowly, it’s usually the result of hair in the drain. Fix this by pulling the hair out with a Zip-It tool. What’s a Zip-It? I’m glad you asked. It’s an inexpensive, effective, and easy-to-use drain cleaning product invented by a Minnesotan. Click the following link to find out, but prepare yourself to see some absolutely disgusting photos of hairballs removed from drains: http://zipitclean.com/
Toilets
Stand at the toilet with the front of the bowl between your legs, and give the toilet a little nudge with your shin to make sure it doesn’t rock or swivel. A loose toilet can lead to a leaking toilet.
Flush the toilet several times and check behind, around, and under the toilet (if possible) for any leaks.
If you have a toilet that clogs frequently, replace it. I recommend using Consumer Reports to help decide on a toilet. Their team tirelessly tests the toilets in the most tasteful manner possible to figure out which ones have the best flushing ability. I’ve trusted them in the past, and they haven’t let me down. I’ll leave it at that.
Showers/Tubs
If you have glass shower doors, carefully inspect the bottom corners of your walls where the shower doors meet. Small leaks in the corners of showers will cause paint to bubble and blister and will stain wood trim.
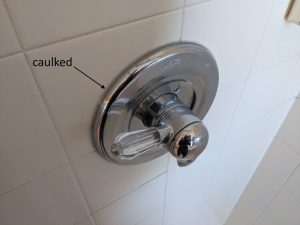
Check the escutcheon, aka trim ring, around your faucet in the shower. It’s not caulked at the wall, water can leak behind the shower wall and stain the ceiling below.
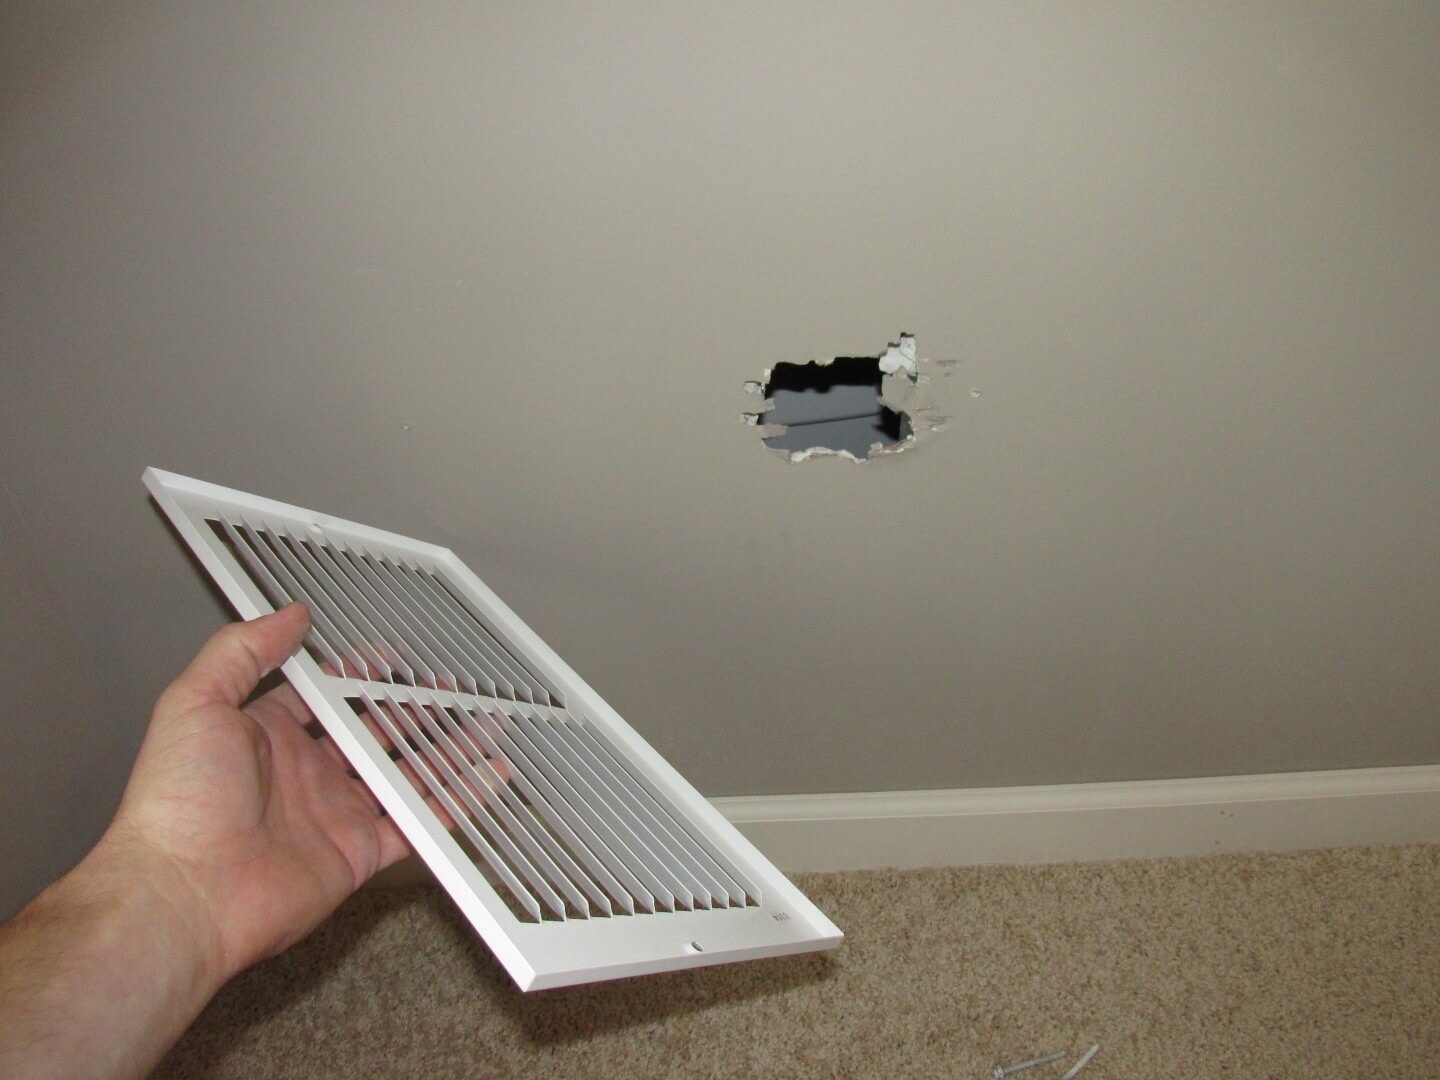
To inspect bathtub drains, check to see if there is access to the drain. Sometimes this will be in the form of a large access panel in the room behind the tub, sometimes it will be an access panel at the ceiling below, and sometimes it will simply be a return register grill screwed to the wall that covers a hole in the wall. The photo below shows a comically small access hole for the bathtub drain at a new construction inspection.
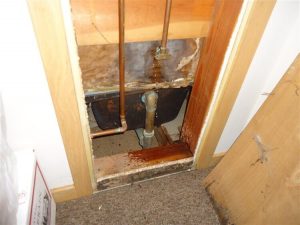
This next photo shows a more traditional, old-school access panel behind a basement bathtub. The faucet leaked profusely but there were no rooms below, so the homeowner didn’t know it was leaking.
Once you’ve established that there is access to inspect the bath tub drain, fill the tub with water all the way to the overflow, and watch the overflow from the back side to make sure that water doesn’t leak out. A leaking bath tub overflow can lead to a big mess, and this is one test that is specifically excluded by home inspection standards of practice. After you’ve made sure the overflow doesn’t leak, pull the drain at the tub and make sure the drain itself doesn’t leak. If there are any leaks at the faucet, you’ll probably find them while doing this test.
The other common issue with showers and tubs is a slow drain, again, usually because of hair. Get a Zip-It.
Kitchen Sink
For the kitchen sink, fill up both sides of the sink with water, pull the stoppers, then immediately turn on the garbage disposer if present. This will force a lot of water through the drain all at once, and will often identify leaks and drain problems that nobody knew about. Sometimes this test will even force water to shoot out of a crack in the side of the garbage disposer.
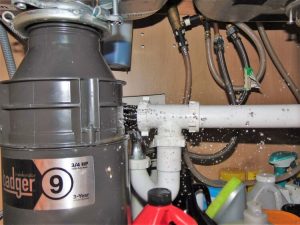
If there’s a problem with the sink drain, water will typically back up on the side of the sink that doesn’t have a disposer, as shown in the photo below.
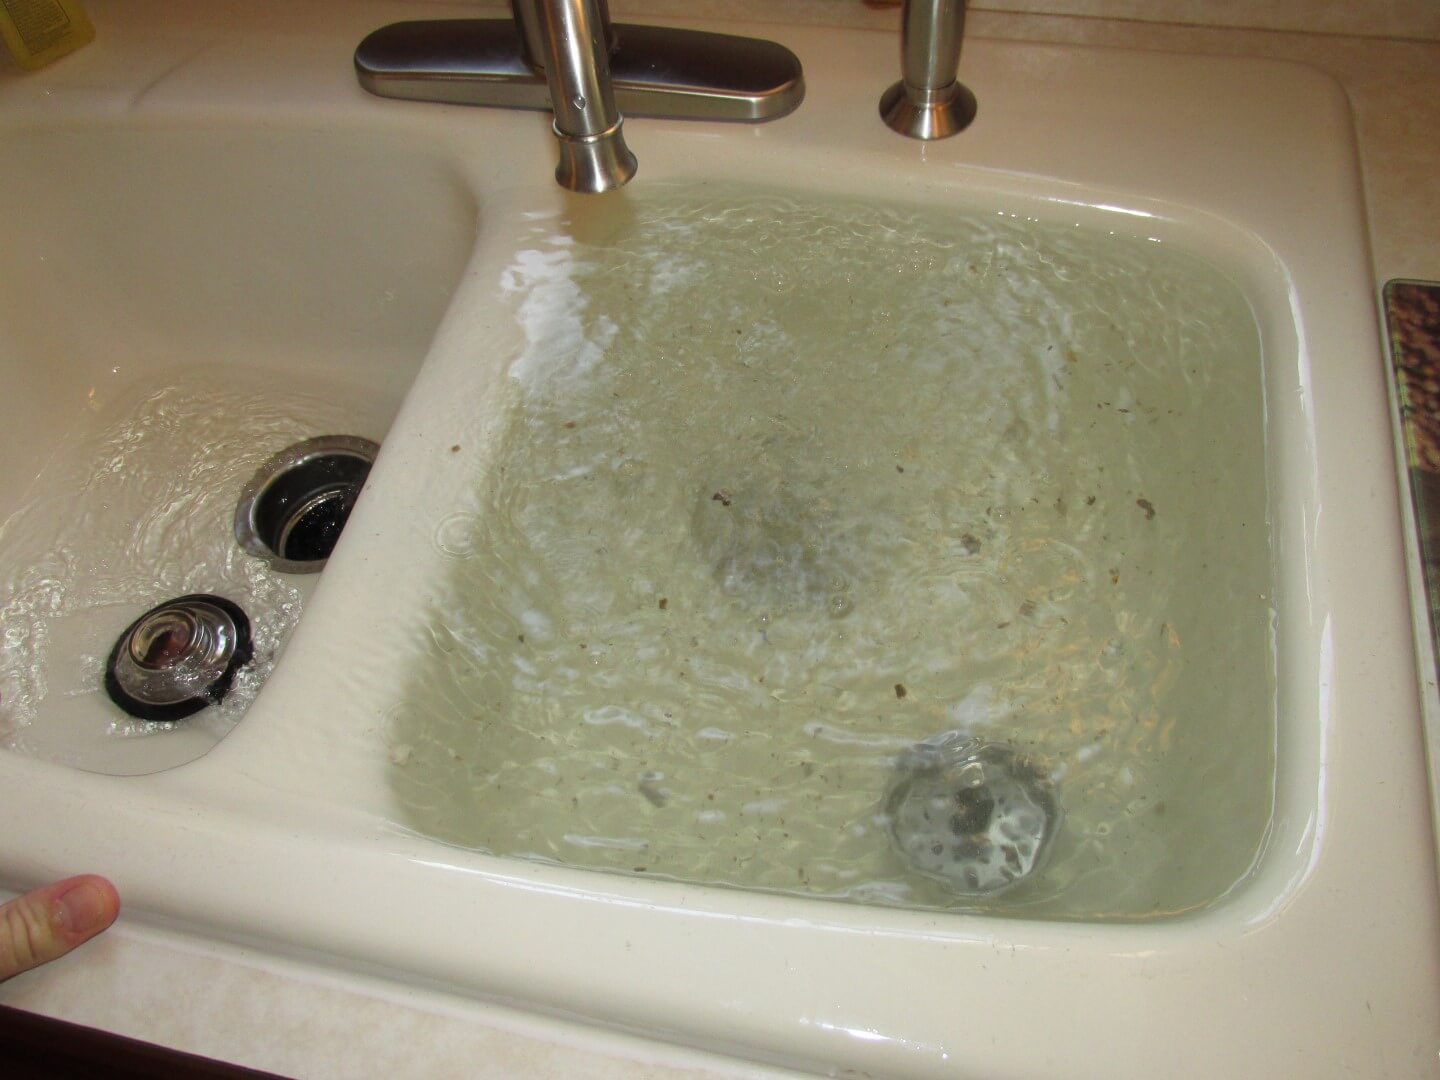
The culprit is typically old galvanized steel drain lines, which accumulate sediment on the insides of the pipes, making the internal diameter smaller and smaller over time, to the point where the fixtures drain very slowly, or not at all. The fix for this condition is to replace the drains, which is an expensive repair.
This test on the kitchen sink will also sometimes expose problems that show up in other areas; we’ve caused water to back up through reverse osmosis water dispensers, basement bathroom sinks, basement floor drains, basement laundry sinks, and basement standpipes by doing this test. After conducting this test, go downstairs and make sure none of the other plumbing fixtures have backed up. If they have, there’s a problem with the drain.
I have a few short clips of these things happening in my “47 Home Inspection Issues in Under 3 Minutes” video; click the video clip below to see. At the 12 second mark, you’ll see a basement bathroom sink overflowing (I had fun cleaning that up), a standpipe overflowing (Milind had fun cleaning that up), two more clips that aren’t related, then a water dispenser overflowing at a kitchen sink.
Floor Drains
The most common issue with a floor drain is a missing clean-out plug. This will allow hazardous, stinky sewer gas into the home. The floor drain pictured below has the cleanout plug circled in blue.
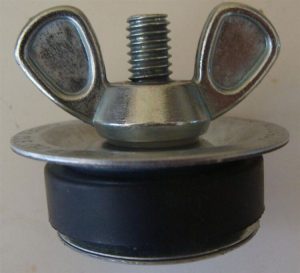
 If this plug is missing, replace it. If the threads are all nastified and won’t accept a nice, new plug, no worries. Just get an expanding plug like the one pictured below. When you tighten down the wingnut, the plug expands to fill the hole.
 Floor drains are usually the focus when the main building drain is clogged, but it’s usually not an issue with the floor drain itself. If the main drain line in your home is clogged, water draining from the upper fixtures will start backing up out of the lowest fixture. The lowest fixture is almost always a floor drain, so that’s where water comes out. This really has nothing to do with the floor drain; it’s just were the problem manifests itself because the floor drain is the lowest fixture. To learn more about this, check out Why does my floor drain back up?
Water Heaters
I’ve blogged about water heaters ad nauseam, so I’ll make this short and sweet. Perhaps the easiest thing to check on your water heater is to make sure it’s set to a safe temperature, which is about 120° – 125° Fahrenheit. Also, make sure it’s not leaking. That’s water heater inspection 101.
For next-level water heater inspections, I put together a video that’s really geared towards home inspectors, and I cover a ton of stuff.
If your water heater has a draft hood, make sure your water heater drafts properly under a worst-case scenario. The video below shows how to do this.
That’s all for this week. Next week I’ll show you how to identify and correct the most common plumbing cross-connections in your home.
Click on any of the links below to see the past topics in this series: